


Grow the best basil of your life
An organic farmer's trade secrets told

It’s Imbolc season, and while it’s still bone-cold here in the Great Lakes region, the longer daylight hours are promising spring.
Gardeners, this is your time to plan for success. As a professional organic grower, people always tell me when they don’t have confidence in their ability to grow plants. The biggest thing I wish I could say to everyone who wants to grow, for joy, for aesthetics, for kitchen use, for pollinators, or all of the above, is this:
Let failure feed your desire, not take it away. And for every glossy picture I take of the gorgeous beds and abundant harvests on our farm, I can assure you, there are hundreds of failures. No one has killed more plants than the person who has learned how to grow them well. If the plants are calling you, answer.

When I started growing basil on a commercial scale, I had beginner’s luck. Since then, I’ve had seasons where I barely had any basil, turning away customer after unhappy customer. I’ve had downy mildew infestations, sun scorch, Japanese beetle damage, aphids, slugs, flood, early or late frost damage. One year, a devastating stem-borer that even the local extension office and experienced farmer friends could not identify. That’s an abbreviated list, but you get the gist.
Basil can be a picky beast, but when I say she’s worth it, I mean it. Anyone who’s ever had fresh-picked basil knows that it makes a world of difference in the kitchen. When I see the poor wilted potted basil in plastic bags at the grocery store, they look like pale ghosts of the bunches we put in our summer CSA boxes all summer long. And the benefits of basil, as with all herbs, offer multiple medicinal actions. Check out our farm’s produce guide here to learn more about that, and how to store and use fresh basil.
Basil is also our most profitable herb crop. It’s a top seller in our seedling sale, year after year. A good portion of what we make at summer farmer’s markets is thanks to basil. Aspiring professional growers take note, as this crop earns its keep in your crop plan.
When I began my foray into herb growing, I stocked my library with both new and old books on the subject. Some I recommend grabbing for your shelf include:
The Organic Medicinal Herb Farmer by Jeff and Melanie Carpenter
Rodale’s Illustrated Encyclopedia of Herbs
Growing and Using the Healing Herbs by Gaea and Shandor Weiss
A Cook’s Guide to Growing Herbs, Greens, & Aromatics by Millie Owen
The Gift of Healing Herbs by Robin Rose Bennett
While I love these books and more that I reference, I have yet to find a book that includes so much of what I’ve learned on the job about growing basil, specifically.
Let me walk you through it, from seed selection to harvest.
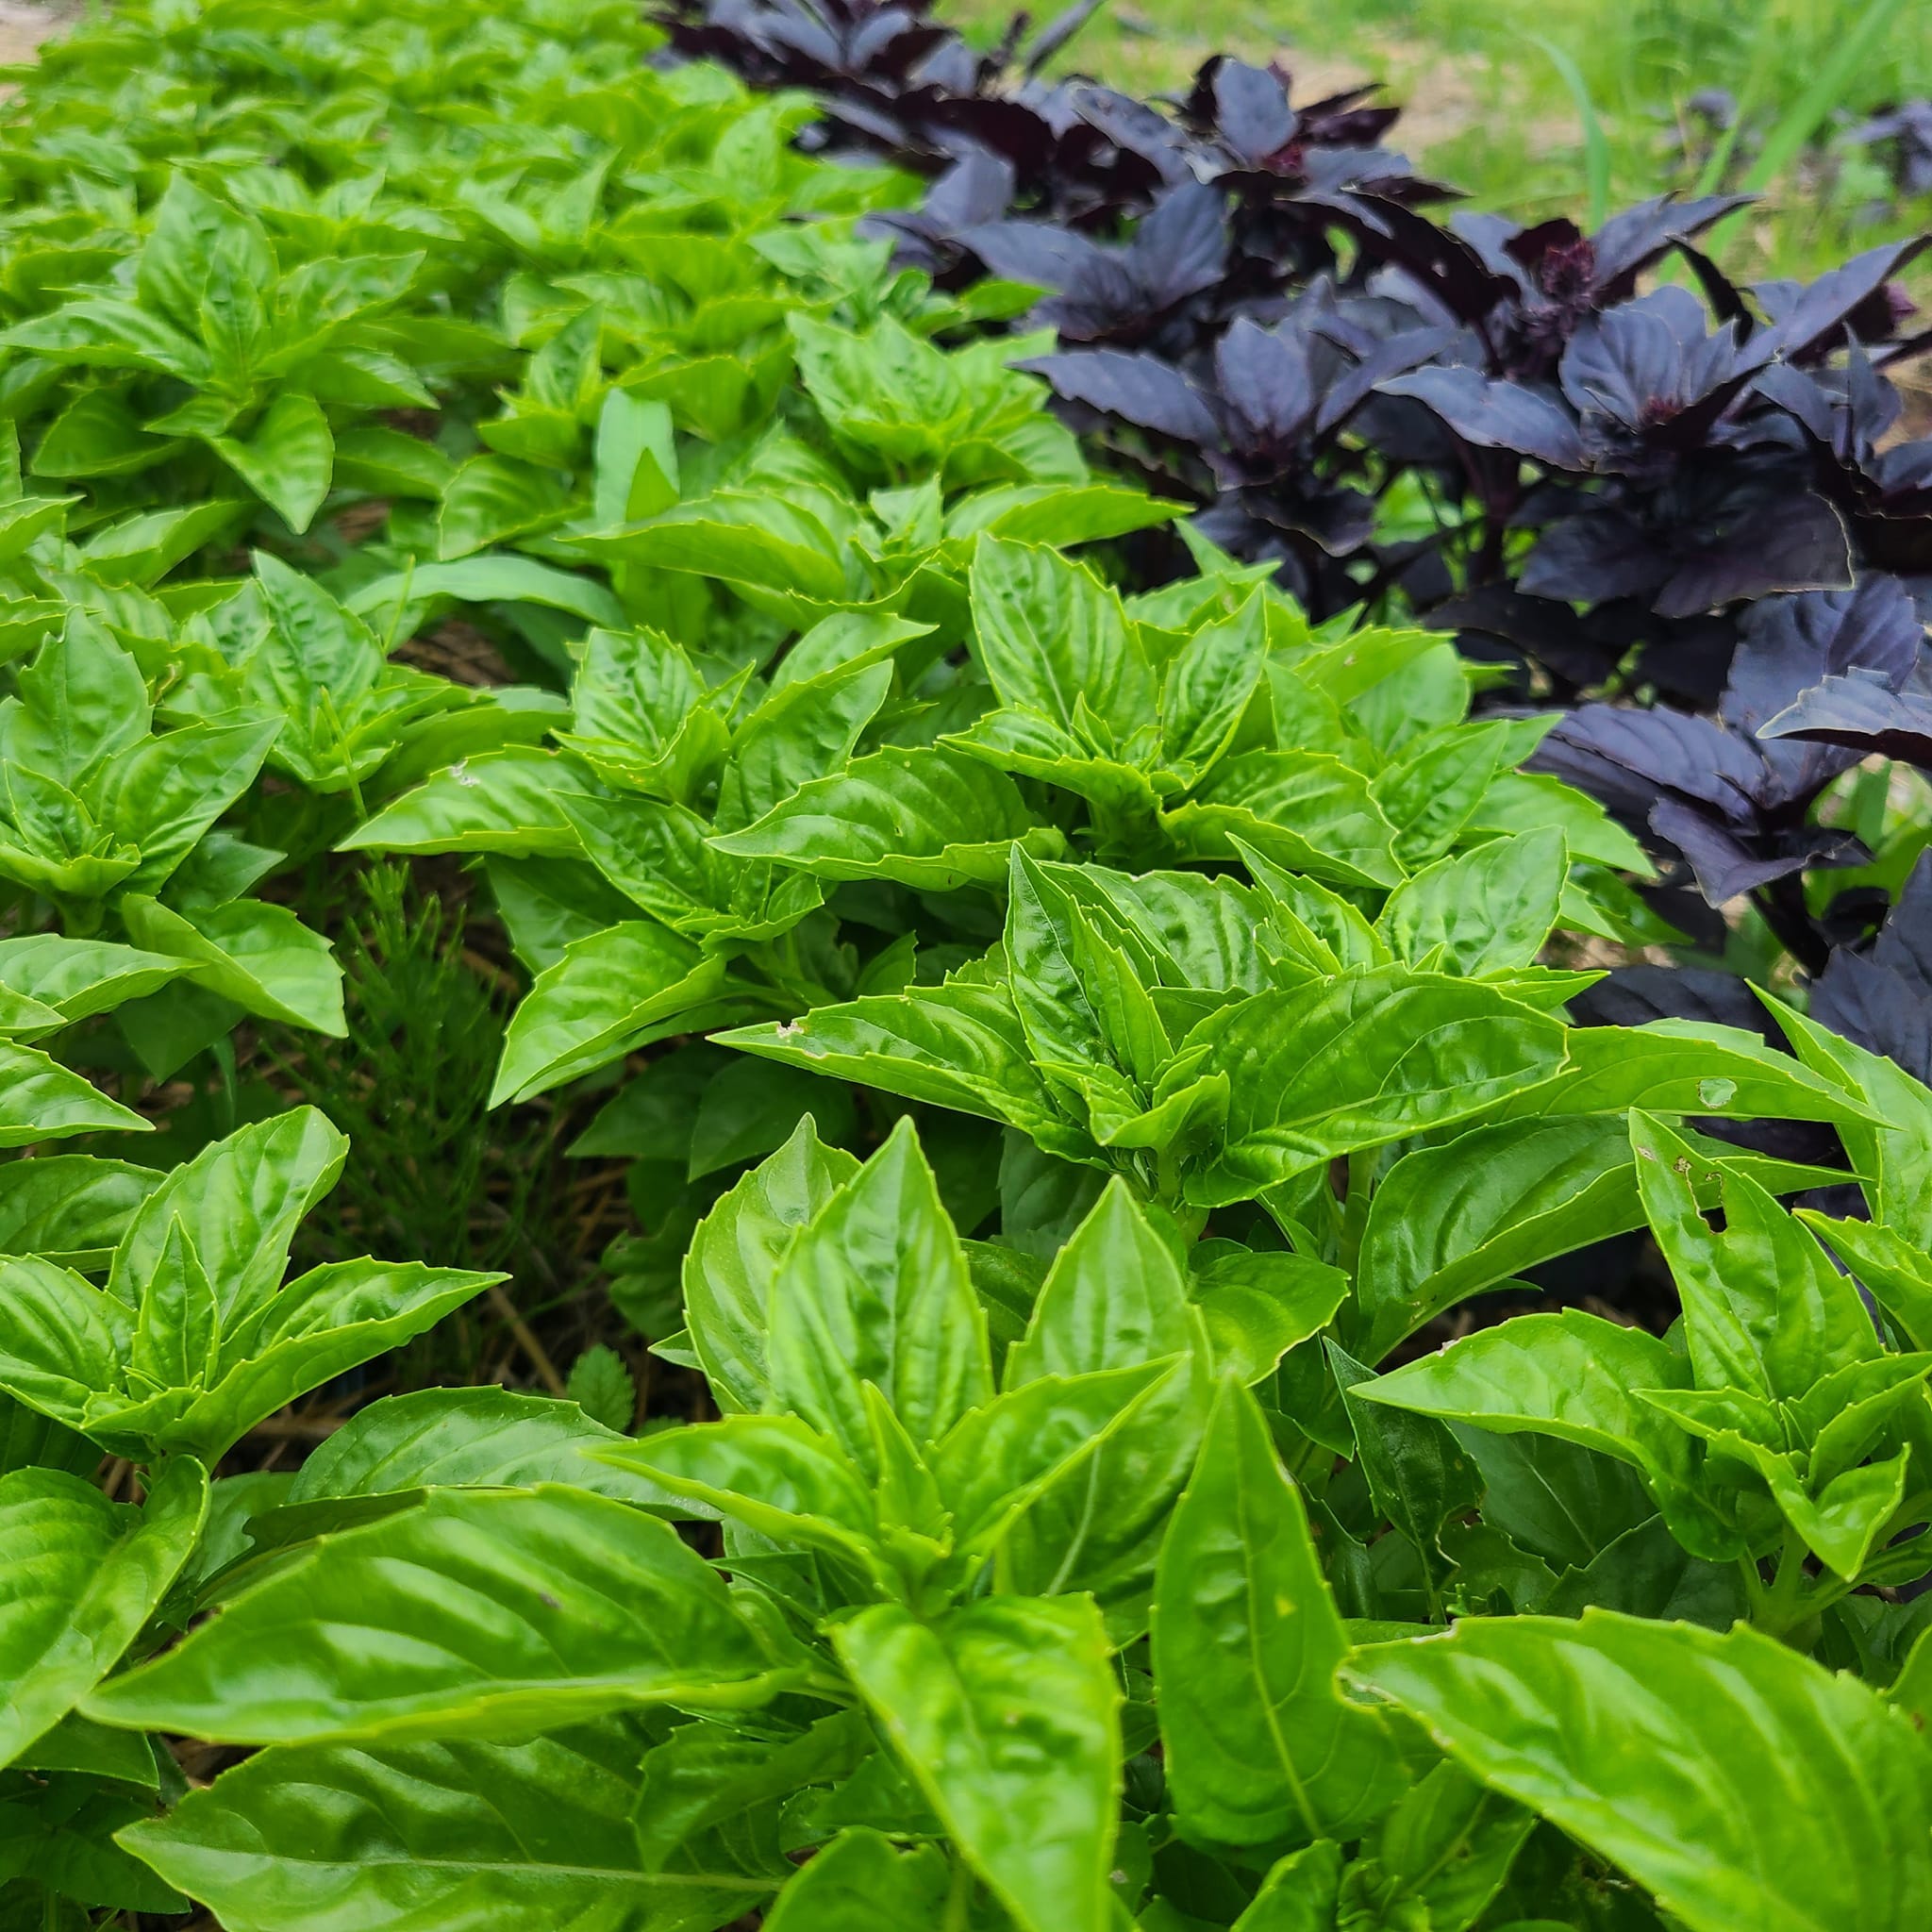
Be choosy about the variety. The new and improved “multi-resistant” varieties is where it’s at. It needs to be seed that is certified organic and selected for performance in organic systems. It’s going to cost more than other types of basil or from indie seed sources, but a few bucks is well worth staving off the loss of all your hard work if your crop fails. Don’t fuss around with less resistant varieties, as they can come down with the mildew first and then spread it to more resistant varieties. We like to support smaller seed companies when we can, but I get my basil seed from Johnny’s Seeds (no sponsorship).
Start the seeds with a 98-cell seeding tray. Spray out any debris from previous use. If using a germination chamber, make sure that it’s clean as can be.
Treat the tray (unless it’s new) with a 1:9 bleach-water solution by submerging for at least 15 minutes. Rinse it it off and leave it to dry in the sun. Hydrogen peroxide is another option for treatment.
Pack trays loosely with good potting mix. We use Vermont Compost (no sponsorship).
Gently press your fingers in each cell to make a divot for the seed to land.
Seed 2 seeds per cell if the seed is new and has been stored well. If not, double up.
I don’t cover the seeds with potting mix because I like to see as soon as they’ve germinated, and they’re safe, warm, and moist in our germ chamber. But for most systems, you’ll want to cover up your seeds with 1/8” potting mix.
Label your tray with the crop, variety, date. We use cut up pieces of plastic yogurt containers. Popsicle sticks break down and become illegible, and tape fades or falls off.
Water your trays gently and generously so they’re almost saturated.
Your seed should germinate in 7-10 days at 75 degrees. As soon as you see a crack in the seedcoat, and a little white fuzz of the root, take it out of the germ chamber.
Apply a generous layer of vermiculite. A naturally occurring mineral compound, this will help prevent algae from growing on the top of your cells. Aside from looking ugly, algae also prevents percolation of water and stunts a young plant’s growth.
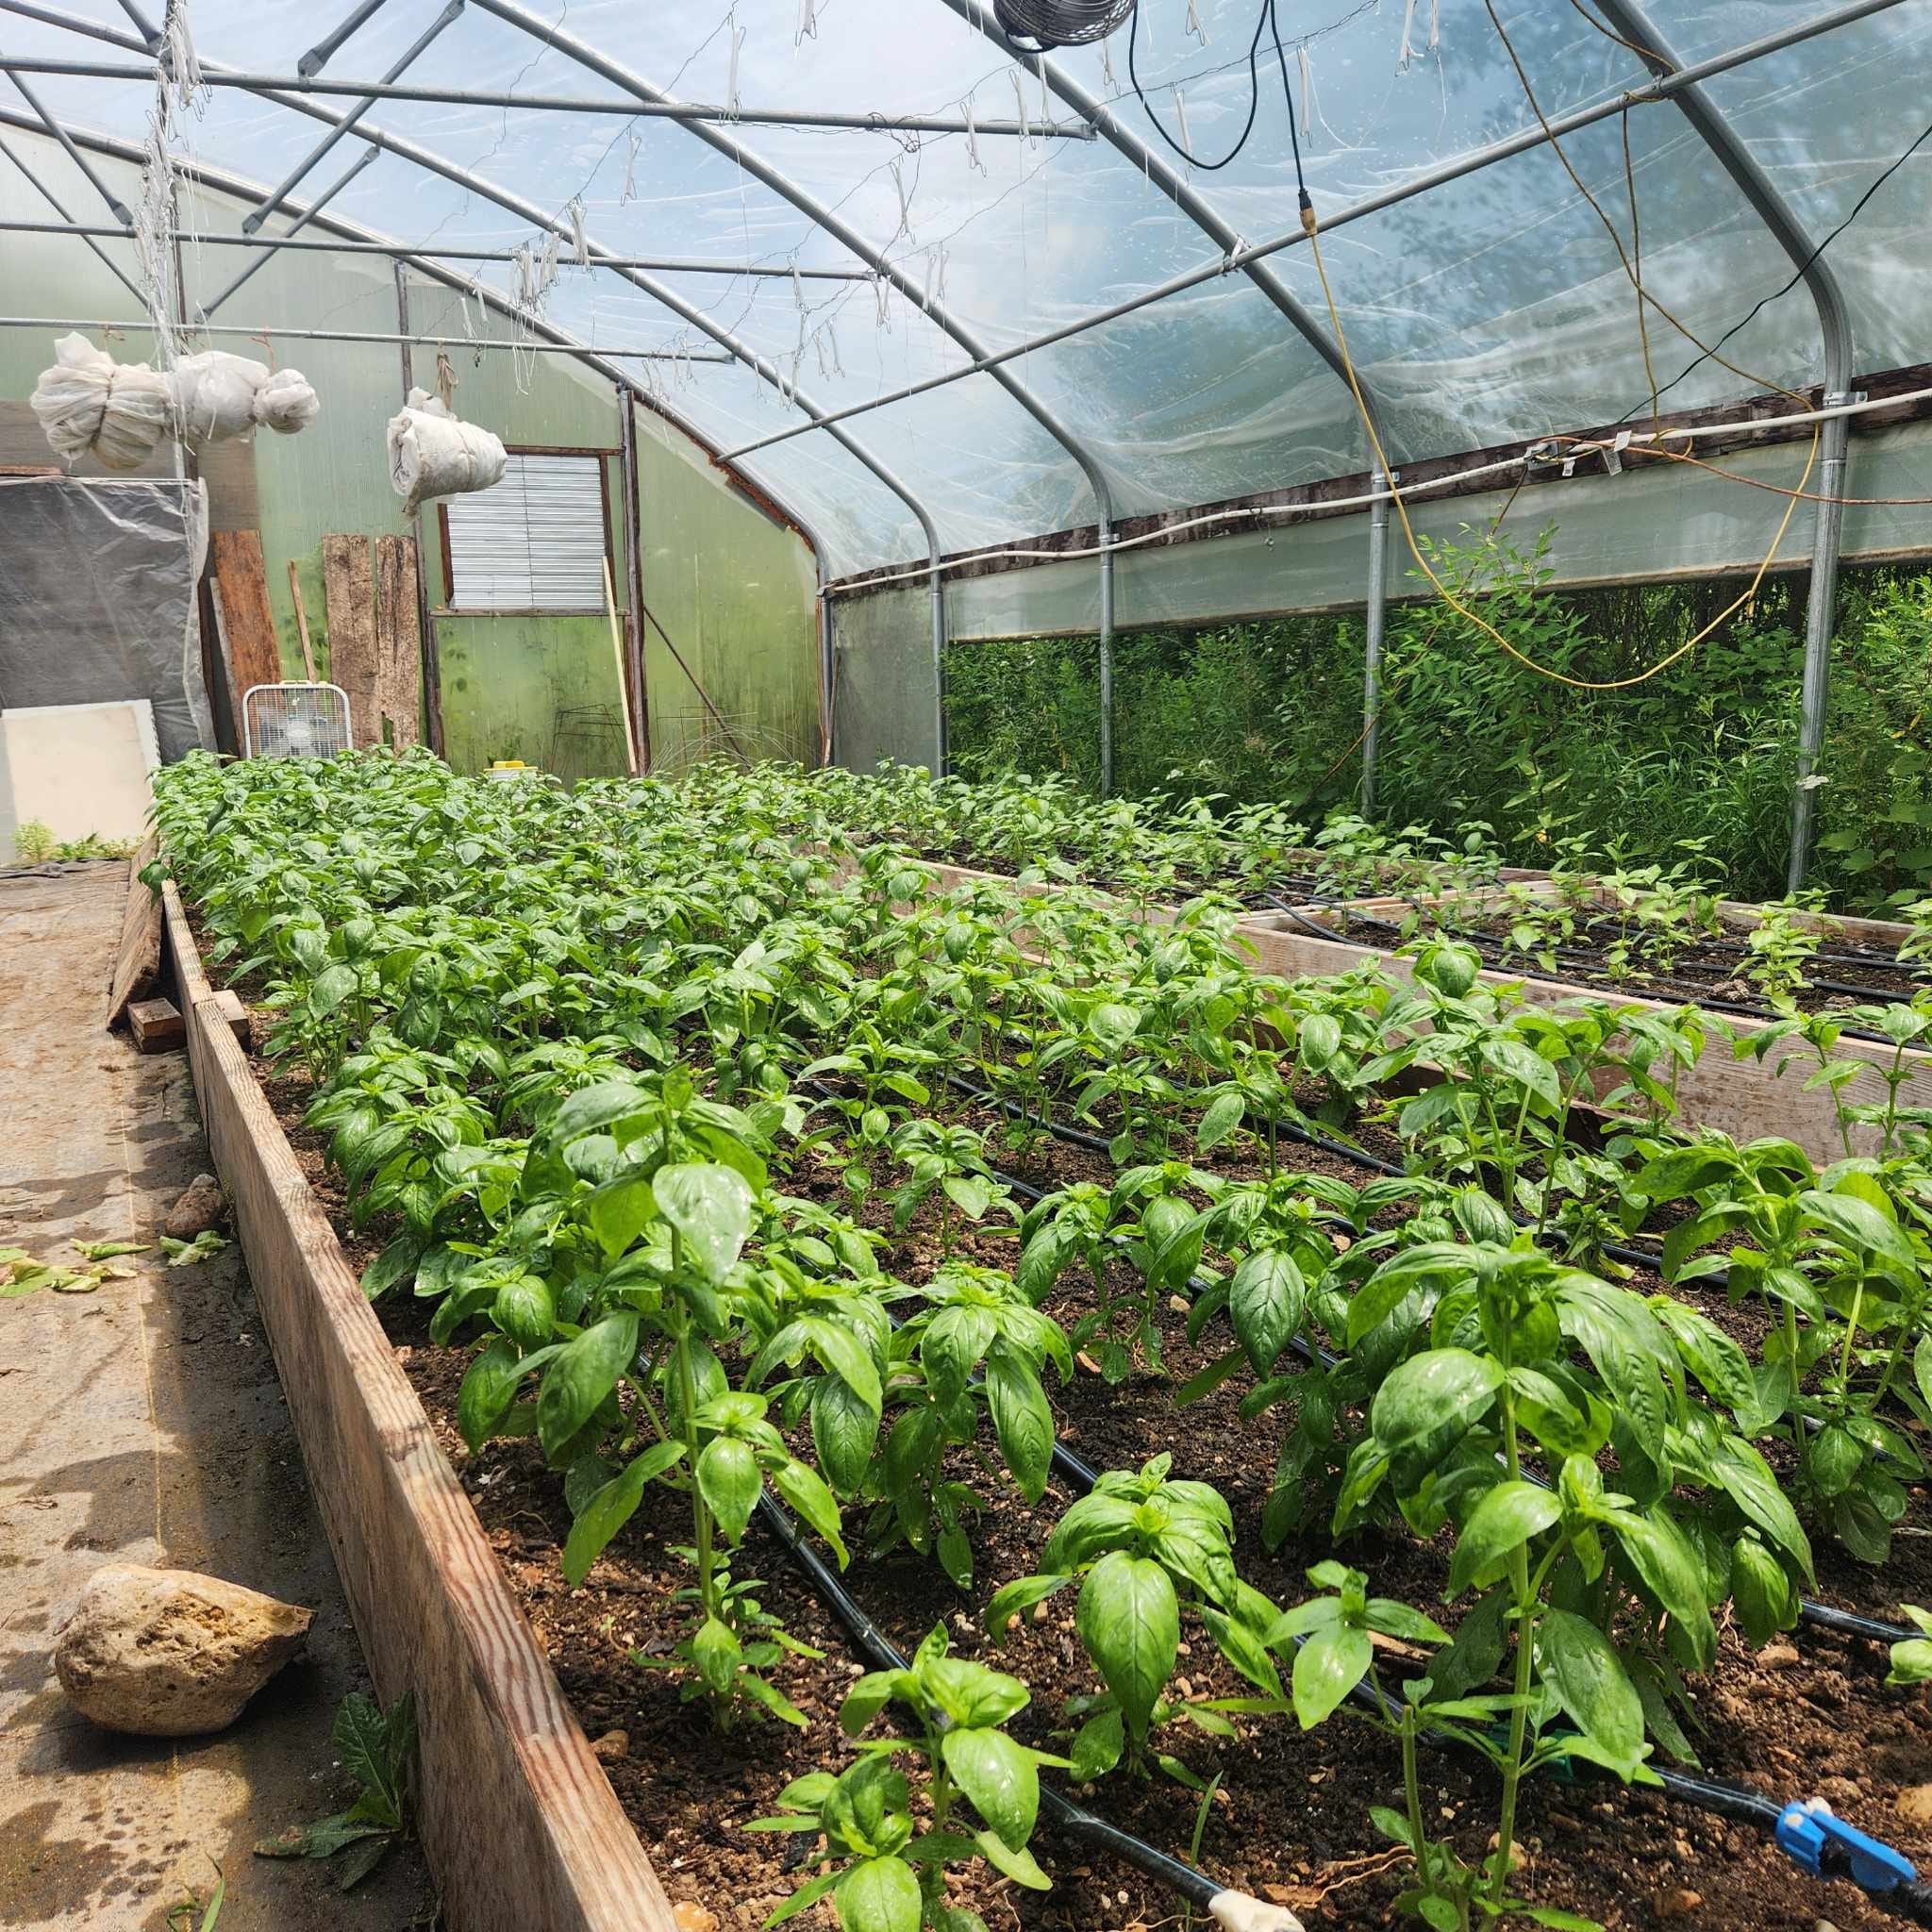
Place your basil flats on a heated table that’s covered in clear plastic if the temperature goes below 60 degrees. In our greenhouse, on a sunny day it march, it can get up to 90 or more, so when the heat rises we uncover them in the morning and recover them at night.
Once the cotyledons, or the first leaves, appear, place a fan right up next to the basil flats and keep it running all the time. All of the little plants should be moving in the current. This will prevent the growth of fungal disease, which is so important in this vulnerable stage of growth.
Keep basil watered daily, except when the sun doesn’t come out. You can go lighter on watering basil and other mint family herbs than other crops, like cucurbits, but don’t let it dry out completely or else the water will just sit on top of the cell.
Once the plants are about 1” tall, either thin them or divide them to populate empty cells so that only one plant occupies each cell.
Harden off the plants about a week before they’re ready to plant. This will reduce transplant shock and make the plants hardier to the fluctuation of night/day temperatures and wind outside before they get put in the ground. For me, this is one of the most nerve racking things about growing basil because you have to watch the outside temperatures very closely. We move the flats outside in May, and when the night time temps don’t dip below 45. We also tuck them in with plastic over night.
In 6-8 weeks, transplant the basil into rich, well drained soil in full sun. Pots also work, but keep in mind, you will have to water them more often and maybe supplement fertility with vermicompost if the plants start to yellow. I use drip irrigation, but you can also spot-water them with a hose. While transplanting, remove the lower leaves on the plant to increase airflow. The lower leaves are also the first to catch disease.
Apply a dusting of Diatomaceous Earth to the newly transplanted seedlings. This will protect the tender plant tissues from insects and deter curious animals.
In 10-12 weeks, harvest at the 2nd or 3rd leaf node at the top. You should get only one sprig per plant at this point, but it’s to give your basil plant the structure it needs to bush out and be more productive.
Harvest often. I can’t emphasize this enough. Once your plants have gone to flower, the flavor of the plant has changed. All the advice out there says to “pinch” off the flowers. Don’t do that, because it will only buy you a couple of days, and doesn’t encourage productive leaf growth. Just harvest, harvest, harvest. The plant will thrive under this torture, and you will get pounds and pounds off of a single plant over the course of the season.
The smaller and tighter you keep your plants, the less chance they have for disease to proliferate.
If you don’t have access to a greenhouse, you can get away with rigging something up in your house, but it will be much more work to achieve good results. When I first started, I couldn’t help myself from trying my hand at starting seedlings in my living room. With hanging lights that made it hard to water, and a southern facing window, I still ended up with leggy seedlings that never grew into study, productive plants. If you’ve figured that out, then great!
But if you’re like me, and you’d prefer to save your time and space, then you can buy your basil seedlings from a certified organic, reputable source. If you live in the Milwaukee, WI area, we are more than happy to grow your seedlings for you.
If you buy your seedlings, simply skip ahead to step 17.
Thanks for coming along on this journey with me. If you liked this infodump, let me know! I have lots more where that came from. I’m up for receiving questions or hearing about what has worked for you. I am steadfast that we need more people working in organic and sustainable food production, and can attest that it is far from easy to get into.
Cheers to you, where ever you find yourself in the path to growing and connecting with the plants. And to the land that nourishes, teaches, and inspires us.
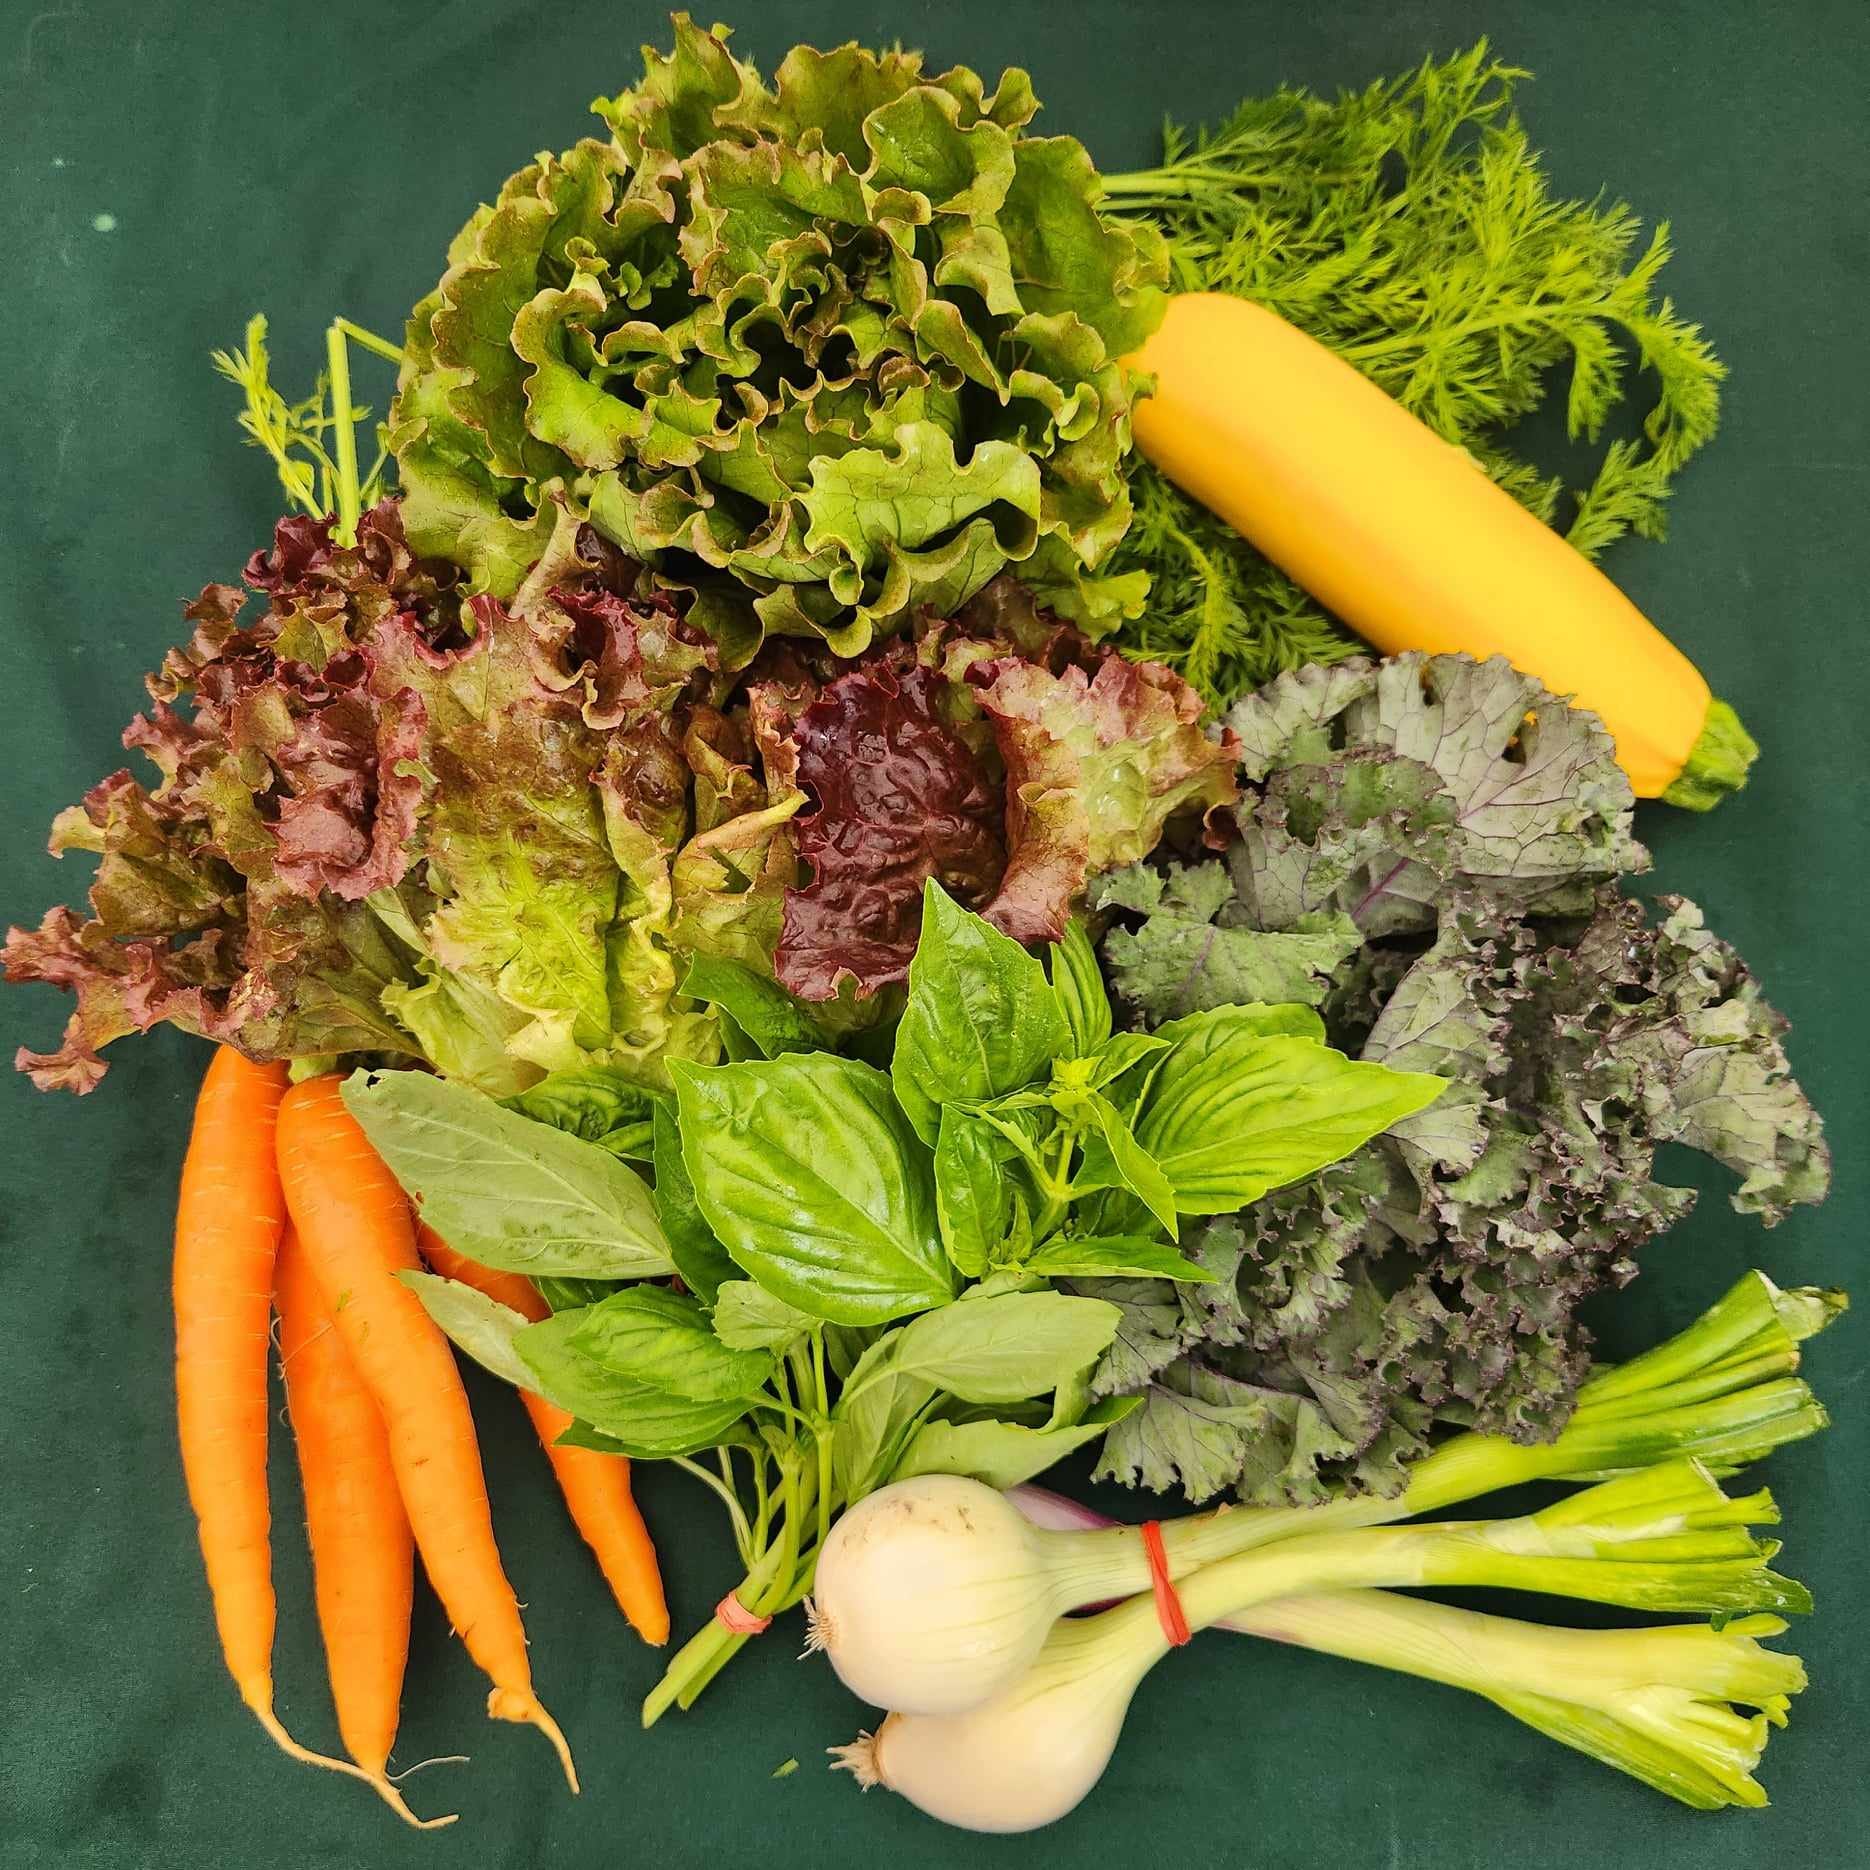
Basil in one of our Summer CSA deliveries, small size share, 2024. Winterspring Farm
Can’t wait to buy your basil seedlings for our community garden plot 🌿